

How to Customize Your Shopify Theme: Fonts, Alignment, Sections and Variant Defaults
Some visual changes sit outside your theme settings. Here is how to choose between theme settings, custom CSS and Liquid edits for fonts, sections and more.

- Published
- 3 Nov 2026
- As of
- 24 Oct 2026
Themes expose a lot of controls, but never all of them. This guide is for merchants and the developers who support them. It covers how to decide where a change belongs, how fonts and sections work in Shopify themes, and how to avoid the usual traps when you go beyond the settings panel.
Start with the lightest tool that works
Start with the lightest tool that gets the job done. Check theme settings first, then custom CSS, then Liquid edits. Each step down the list gives you more control and also more to look after, so only move on when the step above can't do it. Settings are built to be changed in the theme editor, and a developer has already thought through how they behave. A merchant can change them without touching code.
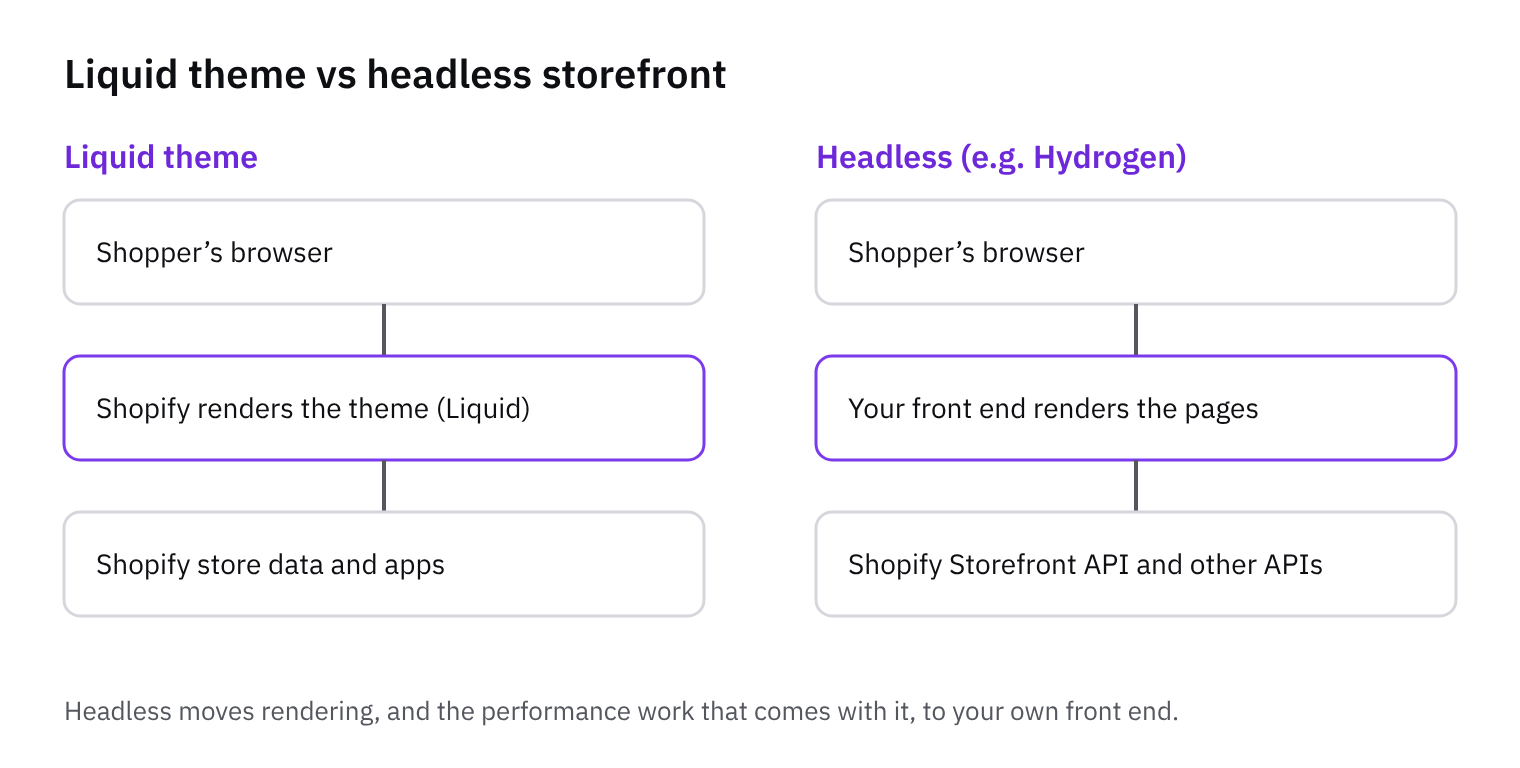
Custom CSS is the next step for things like a centred collection title or a different background on one section. It stays out of the theme's templates, which tends to make it easier to spot and remove later. The catch is that your rules depend on the theme's class names and markup. If an update renames a class, the rule can quietly stop working. Shopify's sections documentation points to a tidier route: a section can bundle its own stylesheet with a section-specific Liquid tag, so styles for one section sit beside that section rather than in a global file.
Liquid edits come last, for changes that need logic, such as an unselected size variant by default. Editing section files gives you the most power, but those files are now yours to maintain. Be careful with statically rendered sections, because the docs say only one instance exists and a settings change applies everywhere it is rendered. Also remember that the theme editor updates the page without reloading, so JavaScript that runs on page load won't run again. Here's the tip: keep a short change log. Write down what you changed, which file or setting it touches and why, so the next theme update doesn't surprise anyone.
Custom heading fonts
Start with what Shopify already gives you. Shopify's font library includes system fonts and a selection of Google fonts, free to use on all Shopify online stores and provided in both WOFF and WOFF2 formats. If your brand font is in that library, pick it in the theme settings and stop there. No code means nothing to maintain.
If the font isn't in the library, a developer has two routes. A font_picker setting lets merchants choose a font in the theme editor, and its value comes back as a font object. Alternatively, you can include your own font files and create a select setting, then reference the setting value in your CSS for the element it applies to. The font_picker route is friendlier for merchants, because the choice stays in the editor rather than in a stylesheet.
Liquid has filters for the rest. The font_face filter inserts the default @font-face declaration. The font_url filter returns a CDN URL when you want to write your own @font-face declaration. The font_modify filter reaches variants such as bold and italic, which helps when a heading needs a heavier weight than the body text. If the font is hosted by a third party, it is typically loaded with a link tag, often placed in theme.liquid or whichever layout file you use.
One warning from the Shopify fonts documentation: uploading some types of fonts to the assets directory through the admin code editor might lead to file corruption. If you add font files through the admin, store them in the Files section instead.
Our tip is to scope the font to heading selectors only. Apply it to the heading elements, or to the heading class your theme uses, and leave body text alone. This tends to help because the rest of the theme keeps its tested font settings, and you avoid loading extra font files that every paragraph would otherwise depend on.
Centred titles and other small CSS tweaks
Centring a collection title is usually a few lines of CSS, not a template rewrite. If your theme has a custom CSS area, whether that sits in the theme settings or in an individual section's settings, start there. It keeps your change out of the theme's core files, so a theme update is less likely to overwrite it. If you're a developer working in the code, the other home is the section's own stylesheet.
Shopify's sections documentation says sections can bundle their own stylesheet with the section-specific stylesheet Liquid tag. That means the CSS for the collection banner can live in the same file as the markup it styles. It's tidy, and it makes the change easy to find later.
Target the specific section rather than writing a global rule. A broad rule on every heading will also catch product titles, footers and anything else that shares the class, and you'll spend an afternoon undoing it. A selector scoped to that section only changes what you meant to change. This tends to help because the next person to edit the theme can see exactly where the alignment comes from.
One practical tip: check your change in the theme editor, but know how it behaves. The sections documentation says the editor updates the HTML on the existing page without reloading it. CSS usually shows up straight away, but any JavaScript that runs on page load won't run again. If something looks right in the editor but wrong on the live store, reload the page before you start debugging.
Custom-coloured sections
Sections are Liquid files that live in the theme's sections directory. Shopify's sections documentation describes them as reusable modules of content that merchants can customise. That is the hook for colour. If a theme's settings don't offer a background colour for a block you care about, you can add one yourself.
The pattern is simple. Add a colour setting to the section's schema, then read that setting in the section's markup or in its bundled stylesheet. Merchants then pick the colour in the theme editor, with no code. This tends to beat hard-coded CSS because the choice stays with the merchant, and it can differ from one placement to the next. Sections can also carry their own stylesheet through a section-specific Liquid tag, which keeps the styling next to the markup.
Presets matter if you want merchants to add the section themselves. The docs say section and block files must define presets in their schema to be added to JSON templates through the theme editor. No preset, no entry in the add-section list. Also check how the section is placed. Statically rendered sections can't be removed or reordered by merchants, and only one instance exists, so a colour change in one place applies everywhere it renders. JSON templates or section groups are the preferred route when merchants need flexibility.
Here is our tip: duplicate a section into a new file rather than editing a shared one. Other templates may rely on the original, and your colour tweak could change pages you never meant to touch. A copy gives you a safe place to add the colour setting and a preset, and the original stays as it was.
Unselected size variants and other Liquid-level changes
Leaving size unselected is not a theme setting in most themes. It is a change to the product form, which means Liquid for the markup and usually a little JavaScript for the behaviour. In Liquid you stop the first size option being marked as checked or selected. In JavaScript you make sure the form copes with no variant being chosen yet. Product forms are normally built inside a section, and Shopify's sections documentation describes sections as Liquid files in the sections directory, so that is where you will be working.
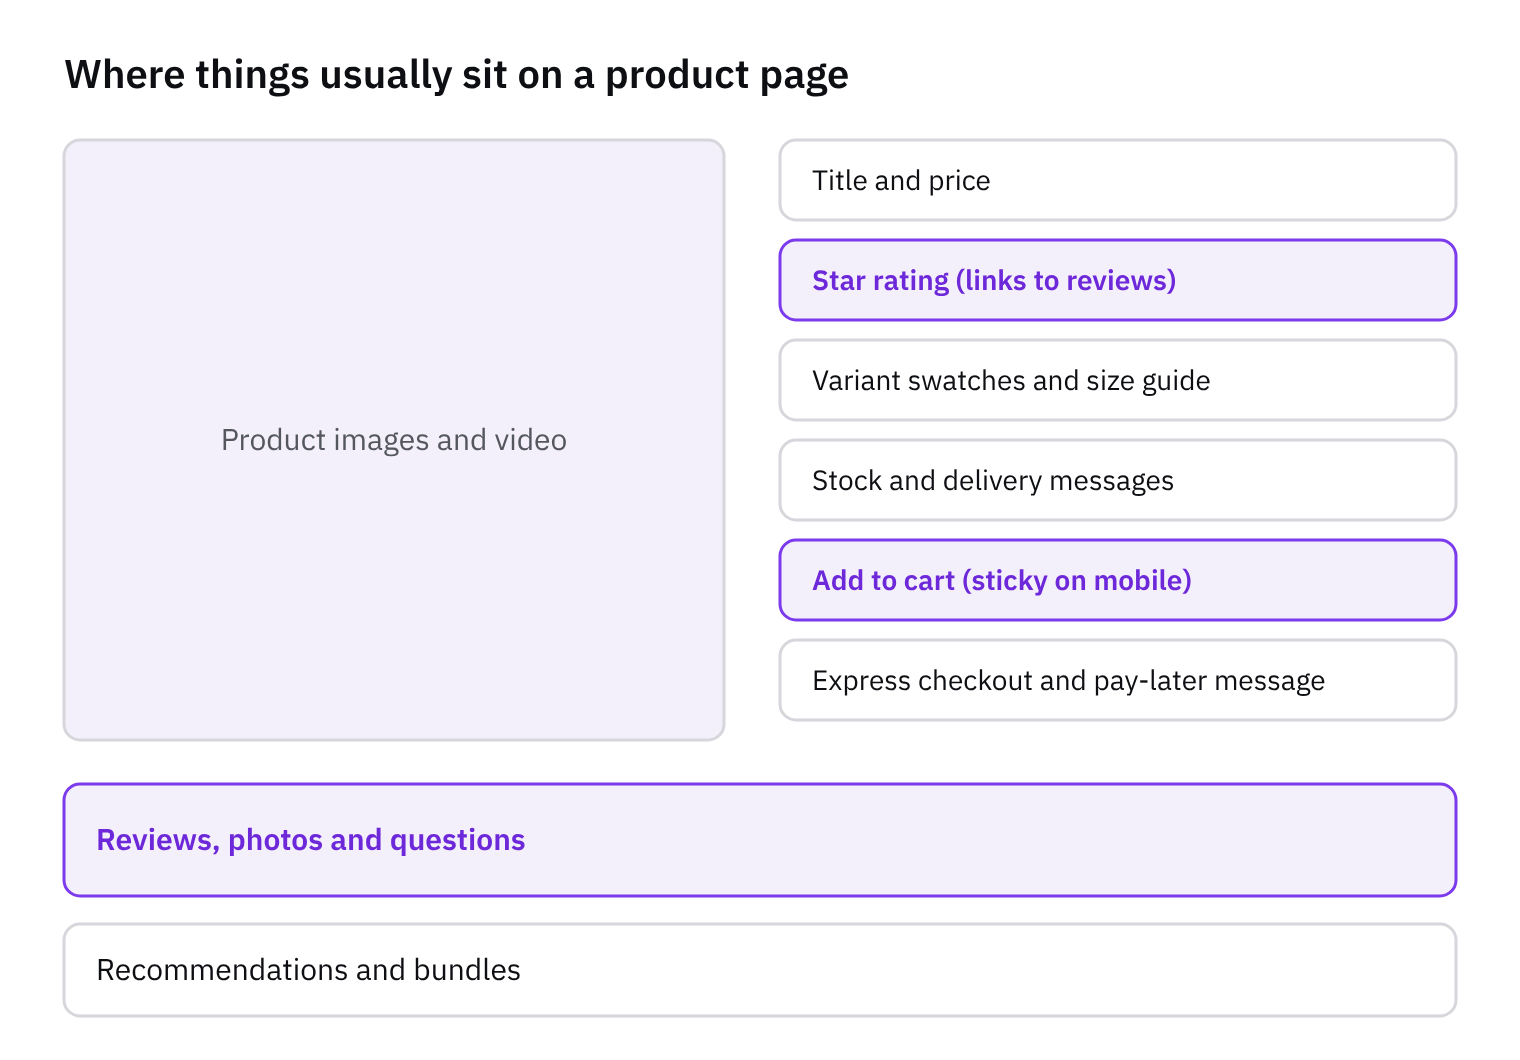
Why bother? This tends to help because a pre-selected size lets a shopper add the wrong one without noticing. Forcing a choice can cut those accidental orders. It only works if the prompt is clear, though. Add a visible instruction such as a choose-your-size label, and keep add to cart disabled or guarded until a size is picked. If the button just does nothing, shoppers assume the page is broken. A short message explaining what is missing is better than silence.
One catch when you test. The sections documentation says that when merchants edit a section in the theme editor, the HTML is updated on the existing page without a reload, but any JavaScript that runs on page load won't run again. So your variant logic can look broken after an edit, or work in the editor and fail live. Check the behaviour on the live preview with a fresh page load, not just in the editor. And our tip: do all of this in a duplicate theme. You can break the product form safely, compare it against the original, and only publish once it behaves.
Pitfalls and next steps
Edits can be lost or clash when the theme is updated, so keep your changes small and write them down. Put custom CSS in one clearly named place, and note which file and section each Liquid edit touches. Work on a duplicate of the live theme, not the live one. Then when the theme developer ships an update, you can see what to re-apply and what to drop.
Watch for a few traps the Shopify docs point to. If you add a custom font file through the admin code editor, the fonts documentation warns that uploading some font types to the assets directory might corrupt the file, so store fonts added through the admin in the Files section. If a section is rendered statically, the sections documentation says only one instance exists, so a settings change applies everywhere it appears. Also, when you tweak a section in the theme editor, the HTML updates without a page reload but page-load JavaScript won't run again. That tends to matter if you've hooked a variant default or other behaviour into load-time code, so reload the preview to check it.
Check every change on mobile, not just on desktop, because a centred title or a larger heading font can wrap very differently on a narrow screen. Preview before you publish, and look at a few different templates, since a section can be available across many of them. Your next step is simple: list the changes you want, then sort each one into theme settings, custom CSS or a Liquid edit. Use settings first, CSS where settings stop, and Liquid only when the markup or behaviour has to change, such as leaving a size variant unselected.
Get the weekly digest
One email every Monday: the week’s new guides and articles, plus the Shopify deadlines coming up and what’s been announced. Free, and you can unsubscribe in one click.
Sources
AI-assisted, reviewed by Scott. Every claim is checked against the sources above.