

Preparing a Shopify App for Review: Pre-Submission Checks, Test Instructions and Handling Feedback
A practical walkthrough of getting an app ready for Shopify's review: what to check before you submit, how to write test instructions, and what to do when feedback is unclear.
- Published
- 12 Nov 2026
- As of
- 2 Nov 2026
Review goes faster when the reviewer can install your app, find every feature and see it work without asking you anything. This guide is for app developers preparing a first submission or resubmitting after feedback. It covers pre-submission checks, test instructions and replying when feedback seems wrong.
Know how review works before you submit
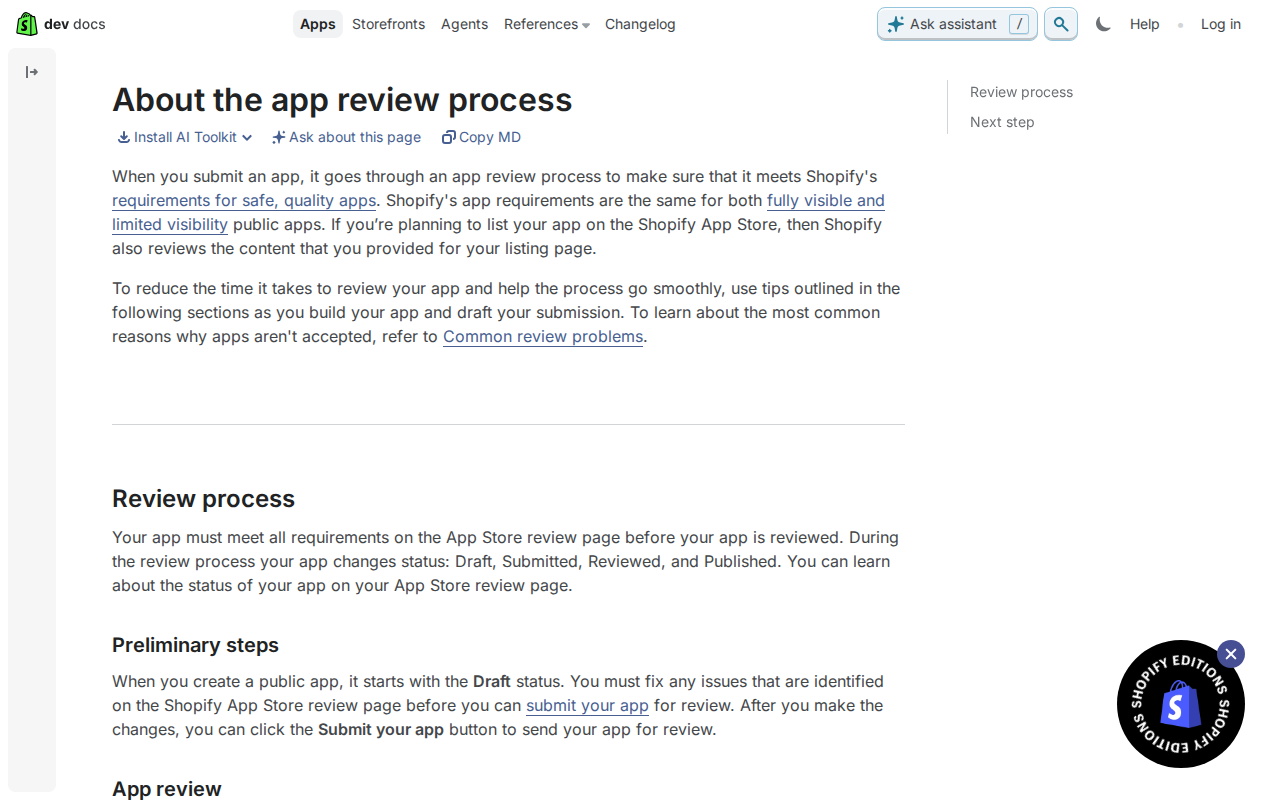
Start by knowing the route your app takes. According to Shopify's page on the app review process, an app moves through Draft, Submitted, Reviewed and Published. Paused sits to one side of that path, and you only land there if something goes wrong. Draft is your working state. Submitted means it is in the queue. Published means it is approved, and by default approved listings are visible in the Shopify App Store.
Fix the issues on the App Store review page while you are still in Draft. The docs say your app must meet all requirements on that page before it is reviewed, and you can't submit until identified issues are fixed. Treat that page as your pre-flight checklist. It tends to help because anything it flags is something a reviewer would otherwise have to bounce back to you. If your app is going on the App Store, Shopify also reviews your listing content, so check the listing as carefully as the code.
Two other statuses need different responses. Paused means the app failed a core requirement that stops a reviewer from reviewing it at all. You get an email outlining the required changes, and once you've made them you click Submit fixes in the status banner. Reviewed means there are fixes to discuss with your reviewer. You'll get an email with next steps, and you must reply to continue. Watch that inbox, and agree who on your team owns replies, because the process waits on you. You can also click Withdraw in the status banner at any time if you realise something needs more work.
Run your pre-submission checks
Start with the checks you can run yourself. The Shopify AI Toolkit includes a self-review that checks your app against the App Store requirements that can be evaluated from a local codebase. Run it before you submit, and fix what it flags while the code is still fresh. It can't see everything, so treat it as a first pass rather than a sign-off. If you set the app up with Shopify CLI, it automatically uses Shopify managed installation, so you can skip that step in the Pass app review guide.
Next, check how your app authenticates. The best practices doc says the app should authorise with OAuth immediately, before any other step, even if the merchant has installed and uninstalled it before. Test that exact path with a reinstall on a development store. The same doc says not to use pop-up windows for essential steps such as running OAuth or approving app charges, so keep those in the main window. If your app is embedded, use Shopify App Bridge and session token authentication. That lets merchants use the app without repeatedly logging in, which is a better experience as well as a requirement.
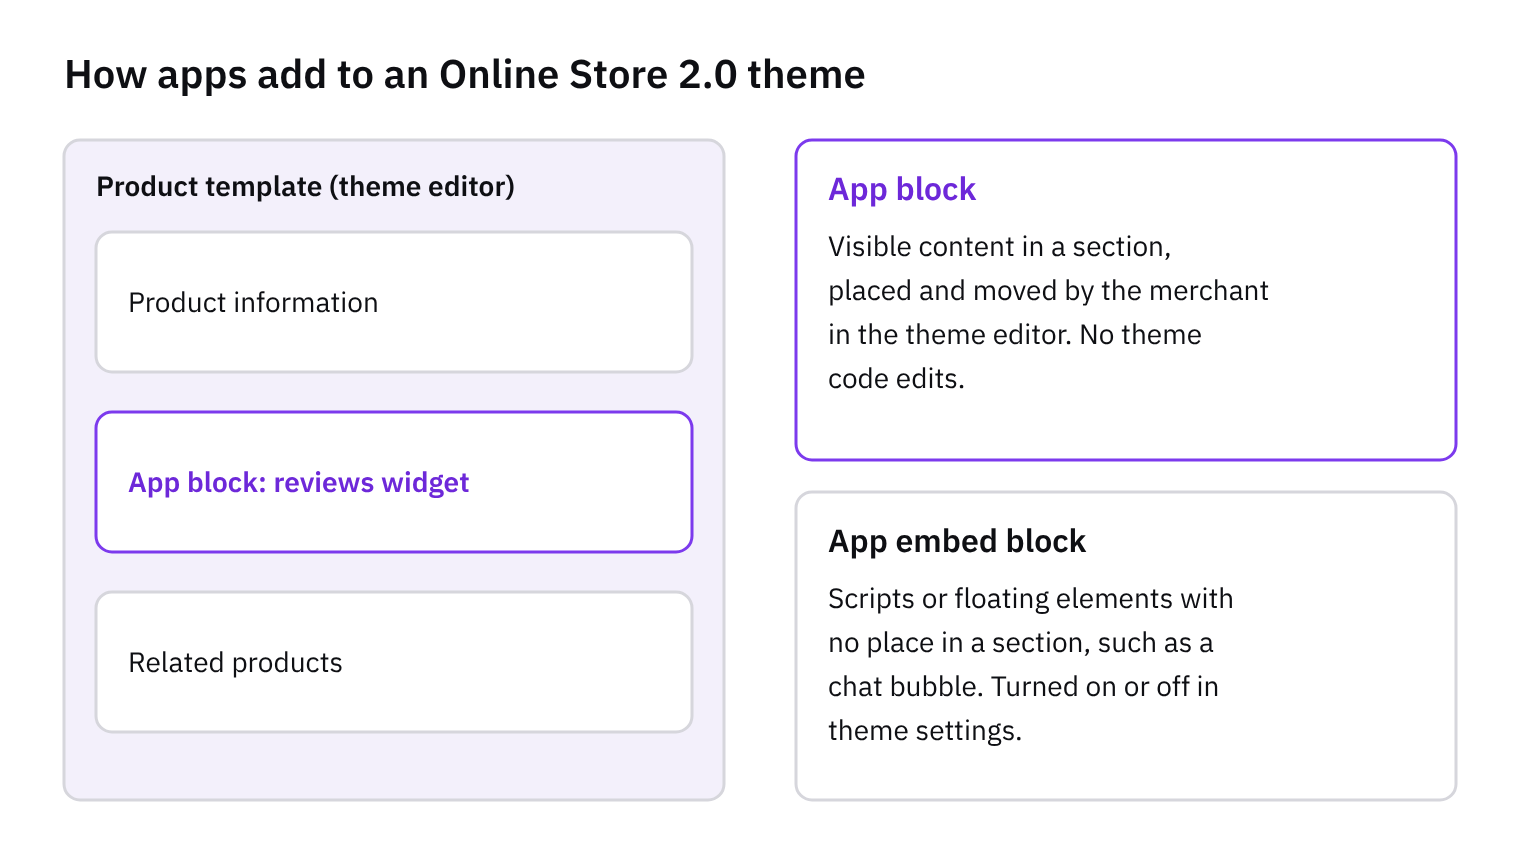
Then cover data, billing and the storefront. If your app uses customer data, you need to meet the protected customer data requirements and apply for access under API Access > Protected customer data access in the Partner Dashboard. Do this early, because it is easy to forget until your code already depends on that data. For manual pricing, set the Billing API test field to true so your app creates a test charge without billing anyone. Then switch it back to false once testing is done. A simple habit is to drive that flag from an environment variable, so a test setting never reaches production by accident. Finally, any change to an online store theme must use theme app extensions. If your app still edits theme files directly, moving to app blocks or app embeds is the check most likely to need real rework, so look at it first.
Check performance and listing content
Performance is part of review, so test it before you submit. The best practices doc says your app shouldn't reduce Lighthouse performance scores by more than 10 points. Shopify measures this as a weighted average across three storefront pages: Home, Product details and Collection. Product details and Collection carry most of the weight, and Home carries the least. So spend your tuning time on the product and collection pages first. That is where a heavy script or app block does the most damage.
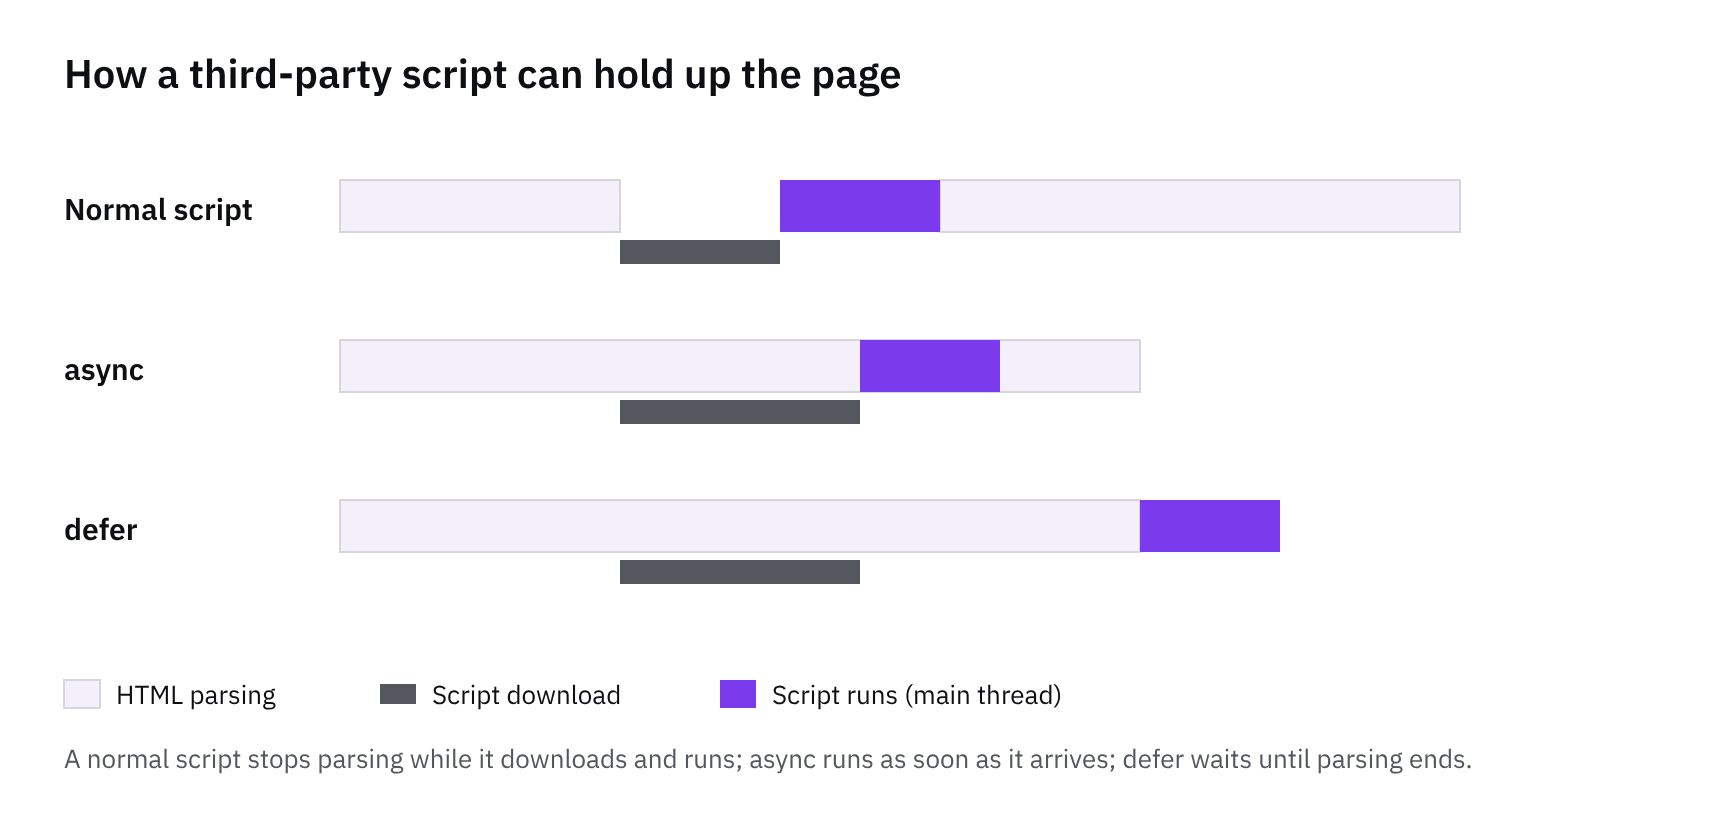
Lighthouse scores move between runs, so one good result proves little. The docs suggest running tests often during development and averaging a few consecutive runs before you submit. We'd add one habit: measure the same theme with your app installed and then without it, and compare the averages. This tends to help because it isolates your app's effect from the theme's own weight. If the gap is close to the limit, look at how your scripts load and whether a theme app extension can do the job with less code.
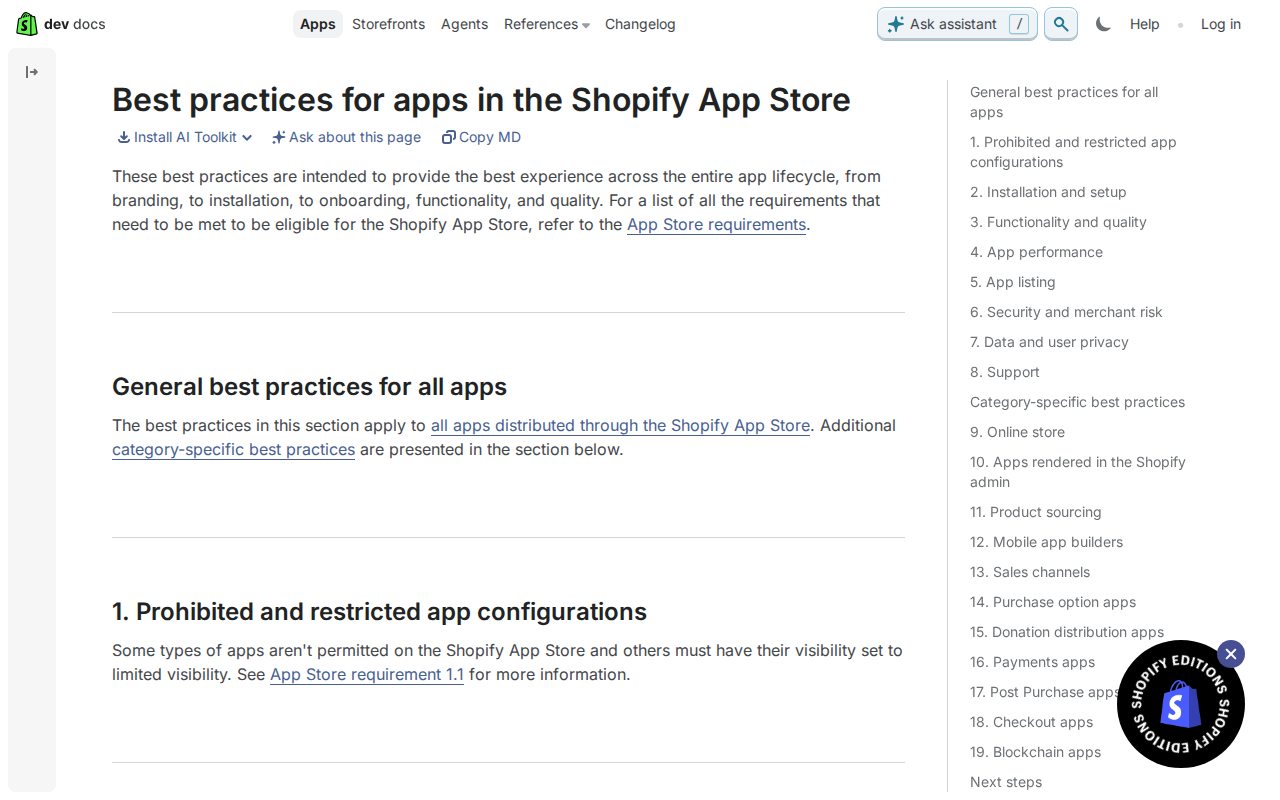
Shopify also reviews the content on your listing page, so treat the listing as part of the build. Keep your app name to 30 characters or fewer, and make sure it isn't identical or close enough to another app's name that merchants could confuse them. Use a square icon at 1200px by 1200px, as JPEG or PNG, and leave out text, screenshots and Shopify trademarks. Screenshots should be 1600px by 900px (16:9), with 3-6 desktop images and at least one showing your app's UI. Feature images use the same size, with one focal point, a solid background with good contrast and alt text. Check each asset against that list before you press submit, because a fixable listing issue is a slow reason to lose a review cycle.
Write test instructions a reviewer can follow
Put yourself in the reviewer's seat. They open your app cold, with no idea what your merchants do. The Shopify docs on passing app review say to include testing information and test credentials in the app submission form, plus a short screencast of how the app should work. Treat those as the core of your submission, not an afterthought. The screencast shows the intended behaviour. The written steps let the reviewer check it themselves.
Write the steps as a numbered path from install to the main outcome. Name each screen and button as it appears in your UI. Say what the reviewer should see after each step. Then add the awkward parts: which permissions the app asks for and why, what happens if a merchant declines one, and what an empty store looks like. If your app uses customer data, say so and point to your protected customer data access application in the Partner Dashboard. This tends to help because it answers the questions a reviewer would otherwise have to ask, and each round of questions adds delay.
Billing needs its own note. For manual pricing, the docs say to set the Billing API test field to true when your app creates the charge, so the reviewer can approve a charge without paying. Set it back to false once testing is done, and check that you did before you submit. In your instructions, say which plan to pick and what should happen after approval. If you use Shopify App Pricing instead, Shopify hosts the plan selection page and handles trials, upgrades and downgrades, so describe how to reach that page rather than your own billing screens. Before you submit, follow your own steps on a fresh development store with the credentials you've supplied. Anything that trips you up will trip up the reviewer.
Handle feedback that seems unclear or mistaken
Start by working out which status you're in, because the next step differs. If your app moves to Paused, it failed a core requirement that stopped the reviewer from reviewing it at all. You get an email outlining the required changes. Once you've made them, click Submit fixes in the status banner. If it moves to Reviewed, the fixes need a conversation with your reviewer. You'll get an email with next steps, and you need to reply to continue. Nothing moves until you do, so treat that email as a task, not a notification.
When feedback seems unclear or mistaken, reply with evidence rather than argument. Quote the point you're answering, then say what you did and what you saw. Give exact reproduction steps, in order, starting from a fresh install. Attach a short screencast of the behaviour. Shopify's pass app review guidance already asks for a short screencast and test credentials in the submission form, so reuse them and update them if they've drifted. This tends to help because the reviewer can check your claim in minutes instead of guessing at your setup.
If you think a reviewer has misread something, the usual cause is a gap in the test instructions, so check those first. For example, a billing flow tested with the Billing API test field set to true creates no real charge, and you must set it back to false afterwards. A reviewer may not know which mode you meant. If you can't resolve a point, or you need to rework the app before answering, you can click Withdraw in the status banner at any time. Withdrawing lets you fix things properly rather than reply in a rush.
Get the weekly digest
One email every Monday: the week’s new guides and articles, plus the Shopify deadlines coming up and what’s been announced. Free, and you can unsubscribe in one click.
Sources
- Pass app review · shopify.dev · accessed 2 Nov 2026
- Best practices for apps in the Shopify App Store · shopify.dev · accessed 2 Nov 2026
- About the Shopify App Store · shopify.dev · accessed 2 Nov 2026
- About the app review process · shopify.dev · accessed 2 Nov 2026
- Shopify Partners · help.shopify.com · accessed 2 Nov 2026
AI-assisted, reviewed by Scott. Every claim is checked against the sources above.